Change chandelier bulbs safely from your second floor landing using a chandelier light bulb changer
Changing light bulbs in a chandelier can be a daunting task, especially for those who are afraid of heights or lack the proper tools. The chandelier light bulb changer has revolutionized this process, making it safer and more efficient for homeowners.
Step-by-step Instructions
Learn how to assemble and use your Universal Chandelier Swan to change upward-facing chandelier light bulbs from an accessible second-floor landing or stairway.
Bulb selection: Follow Step 2A for candelabra bulbs or Step 2B for round bulbs. Choose the configuration that matches your light bulb.
1. Choose location / turn Off Power
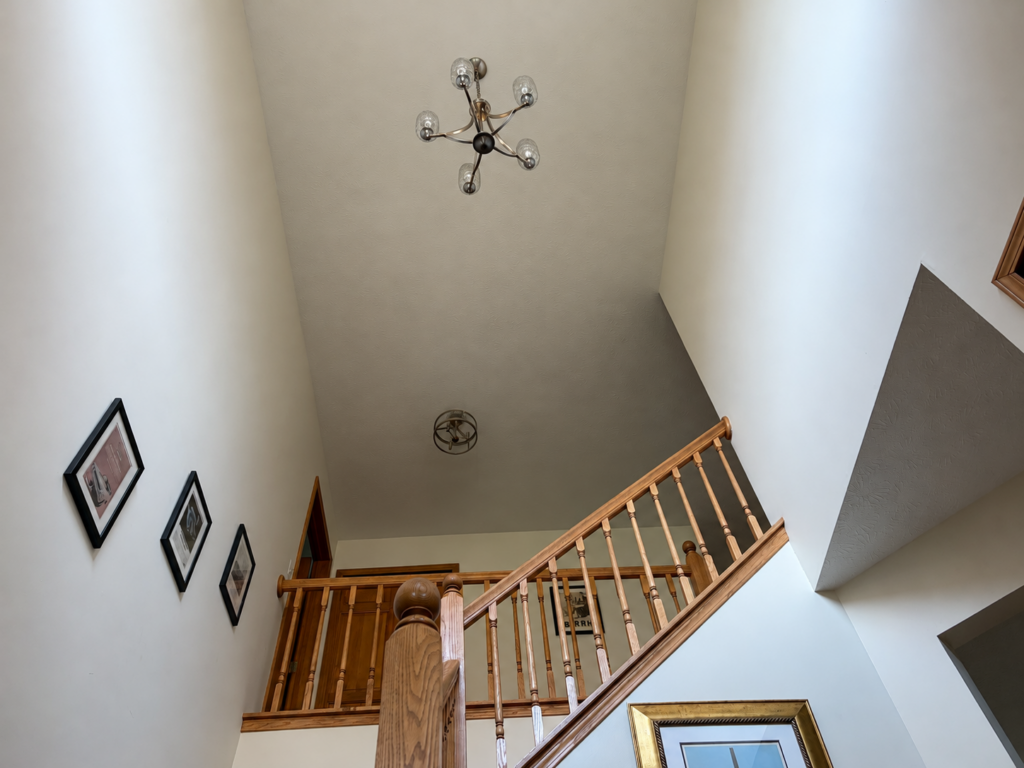
Select a location on the second-floor landing or stairway closest to the chandelier. Make sure you can access the light bulb from above without leaning over a railing. Turn off the power to the lights.
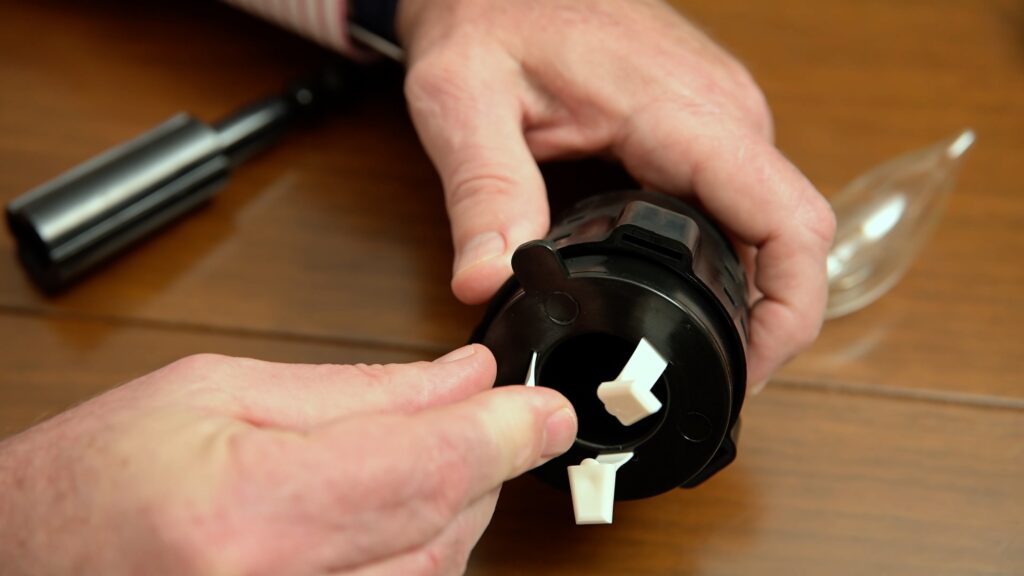
2A. For Candelabra Light Bulbs – Detailed Instructions
Leaving the candelabra light bulb insert inside the round light bulb changer is crucial. Install 3 candelabra fingers into the insert, ensuring the feet are facing out for maximum grip. It is essential to grip the fingers at the top firmly when inserting them to maintain control. This step may seem minor, but it plays a significant role in securing the bulb as you work from a distance. Utilizing a chandelier light bulb changer effectively during this step will prevent mishaps and ensure that the old bulb is removed smoothly.
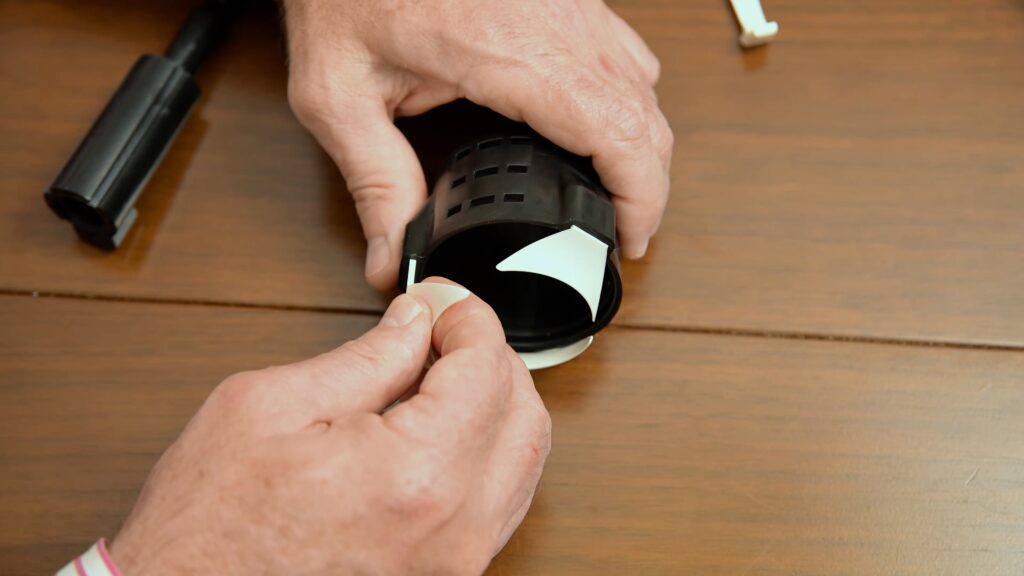
2B. For Round Light Bulbs – Comprehensive Guide
For round light bulbs, it is essential first to remove the candelabra light bulb insert from the round light bulb changer. Select and install 3 round light bulb fingers with the curved side facing in. This orientation is critical for ensuring the bulb is adequately secured during removal and installation. Again, grip the fingers at the top when inserting to maintain a steady hold. This will help you manage the bulb without it slipping or causing any damage.
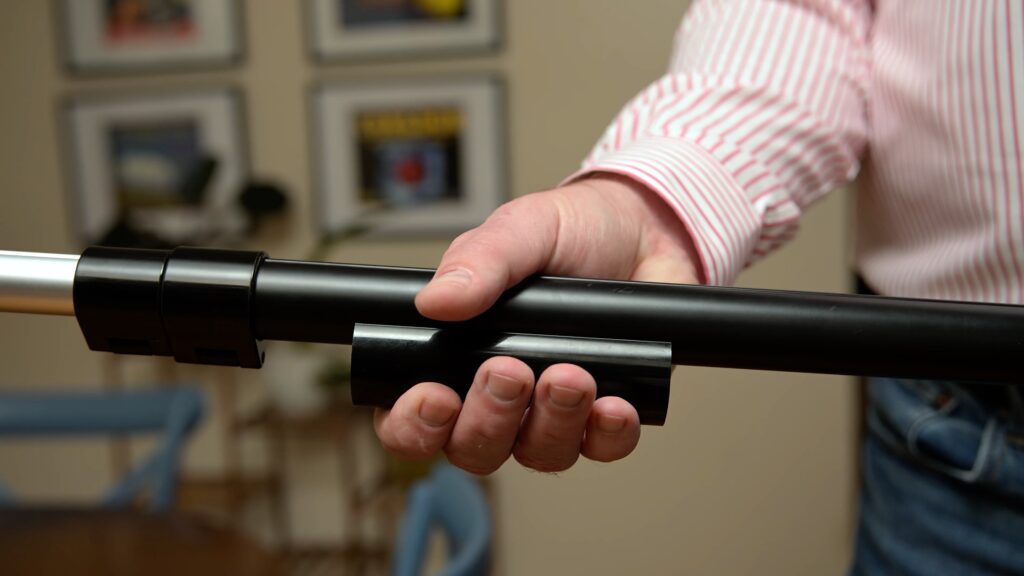
3. Attach Pole Sleeve
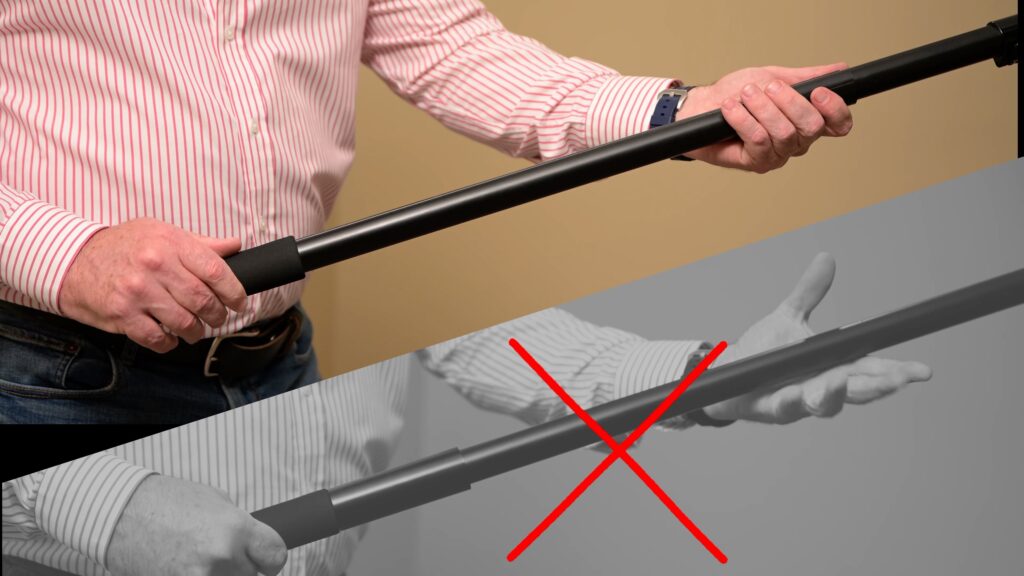
Clip the pole sleeve to the extension pole where your guiding hand will rest. The sleeve allows the pole to rotate smoothly while maintaining control.
4. attach to extension pole and secure
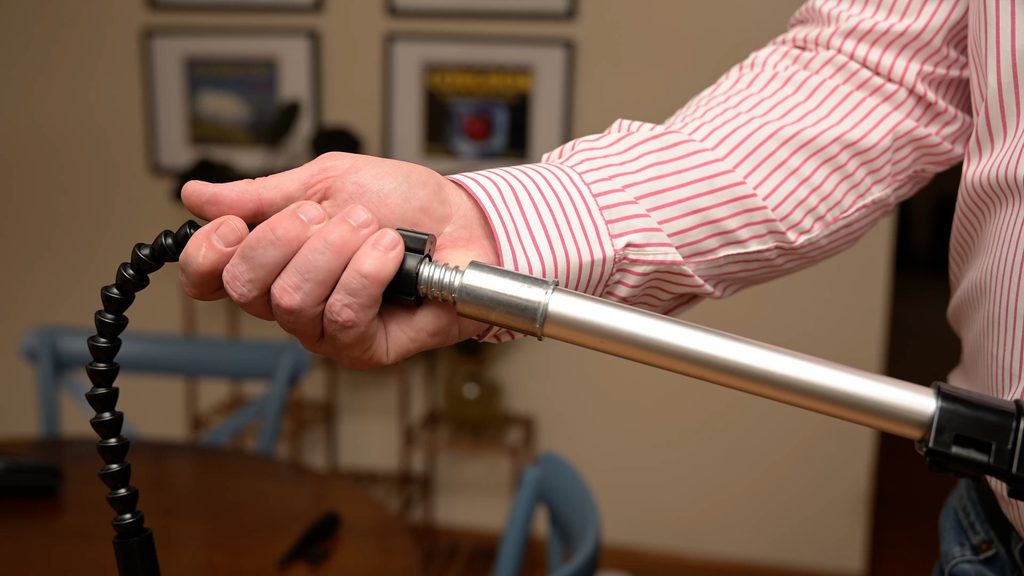
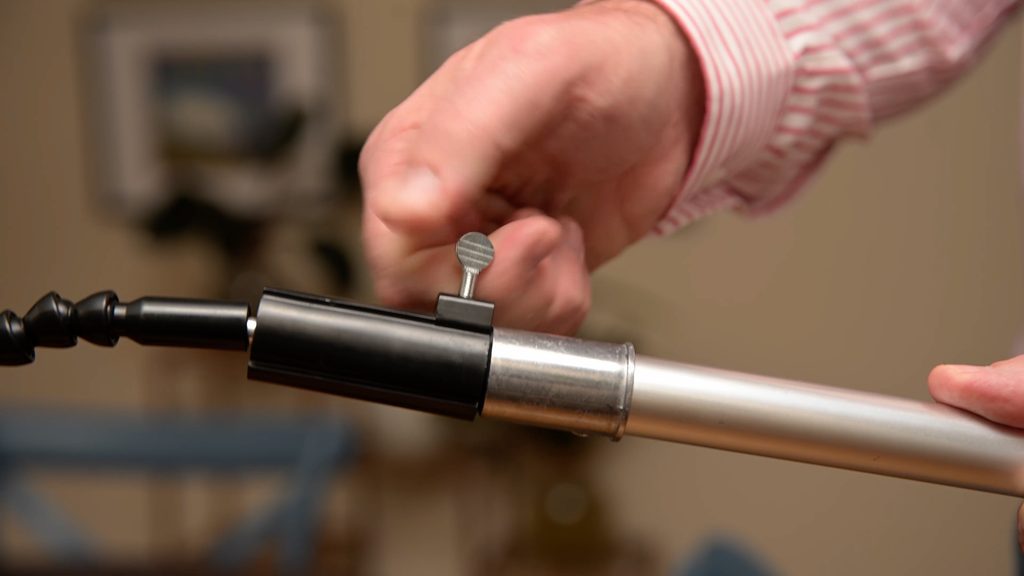
Attach the Chandelier Swan to a compatible stand 3/4 inch ACME threaded extension pole. Tighten the thumb screw to secure the attachment before extending the pole.
5A. Position the chandelier swan
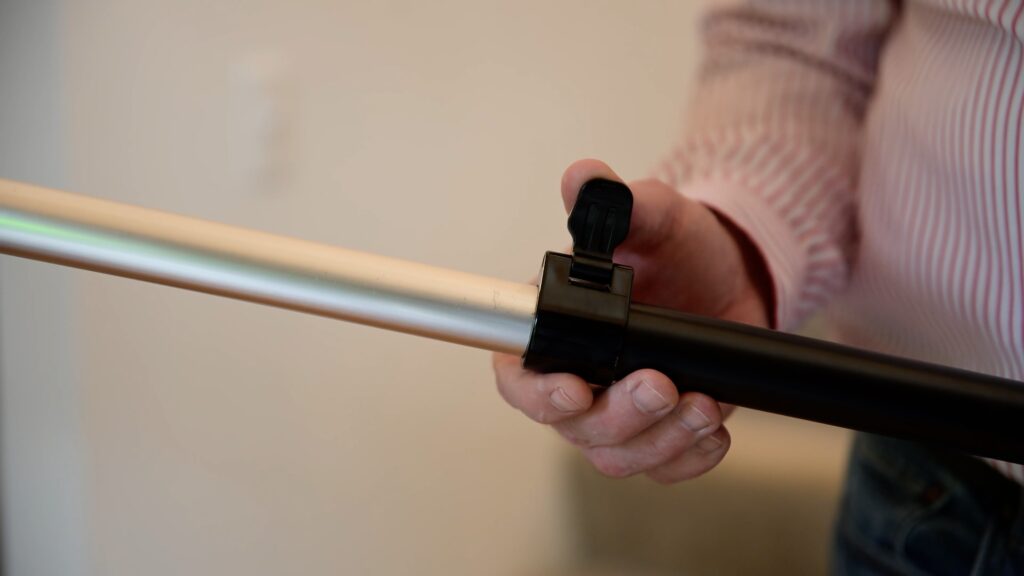
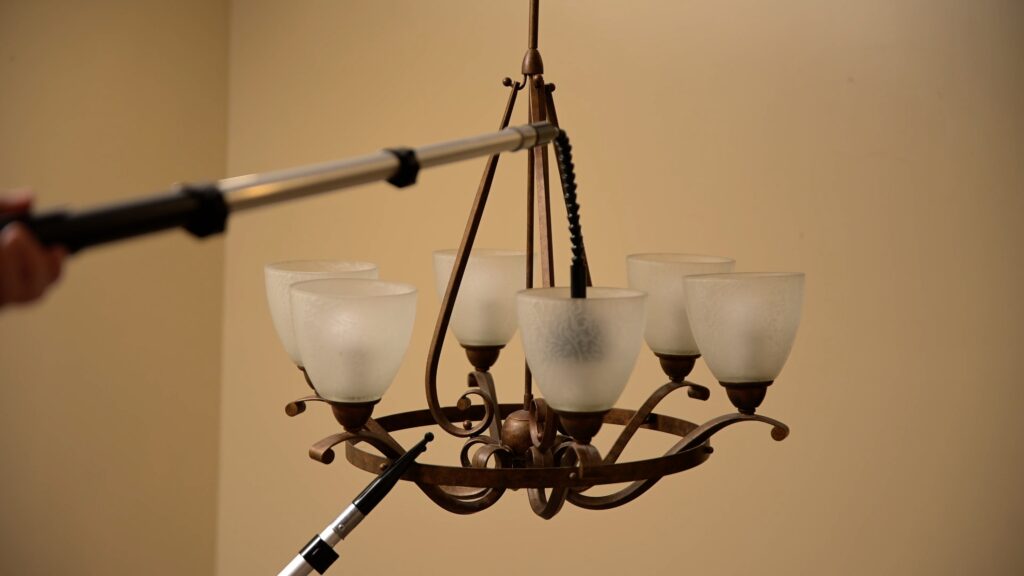
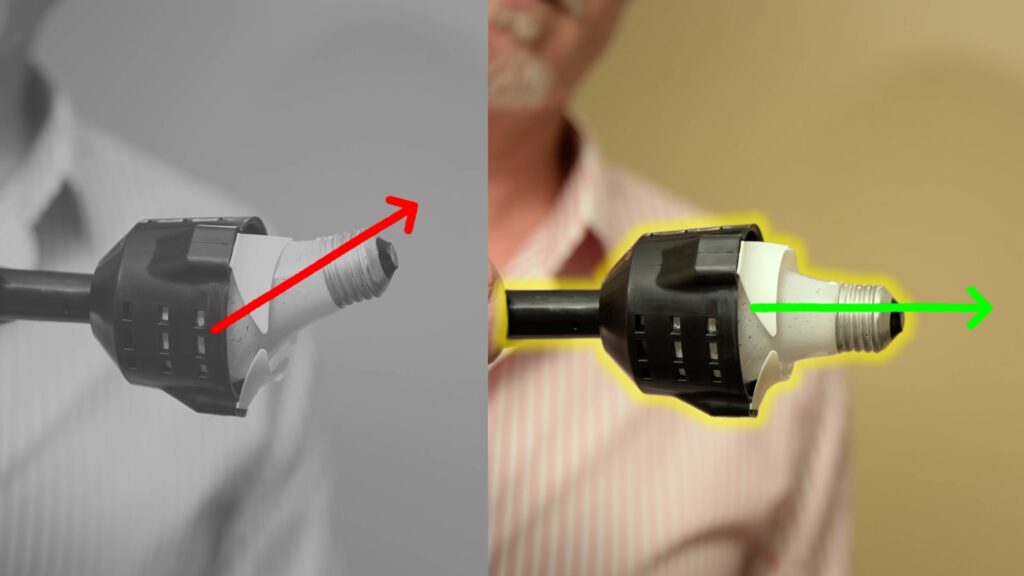
Extend extension pole to the desired length and lock the extension pole. Slowly lower the Chandelier Swan over the burned out light bulb until it is fully seated in the cavity.
5B. Remove old light bulbs
The main body of the chandelier light bulb changer grips and twists the light bulb, while the fingers prevent the bulb from falling to the floor. This is where precision is critical; rotate the extension pole counterclockwise using smooth, controlled movements until the bulb is fully removed. If you feel resistance, double-check that the bulb is indeed free and that the changer is securely gripping it. Patience here will pay off.
If the chandelier starts to move or sway, use a second extension pole with the stabilizing hook to secure the chandelier.
6. Install the new light bulb
Place the new bulb securely into the Chandelier Swan. Center the bulb before raising it to the socket.
Rotate the extension pole clockwise until the bulb is fully seated. Do not over tighten.
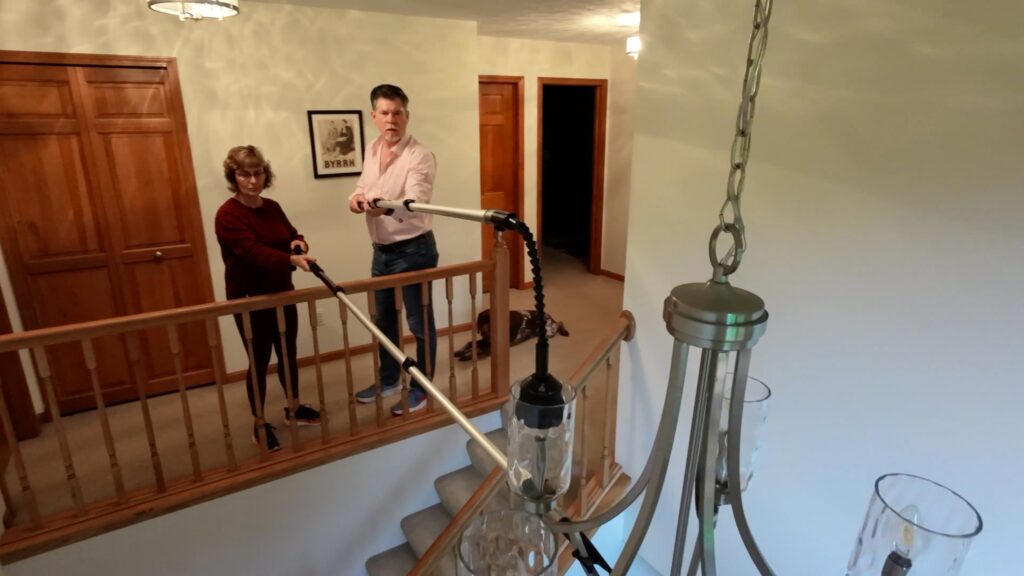
See the Chandelier Swan in action: Change upward-facing chandelier light bulbs from an accessible second-floor landing or stairway without climbing a ladder, provided the bulb can be safely reached from above.
Download Chandelier Swan Instructions
Keep a copy of the operating instructions for easy reference.